Optimizing midcore: elevating graphics to PC quality while keeping performance in check. Textures and animation
Welcome back to our series aimed at boosting graphics in midcore games without compromising on performance. Our previous discussion ventured into optimizing polygon usage, and today, we dive into the realm of textures and animations.
Textures
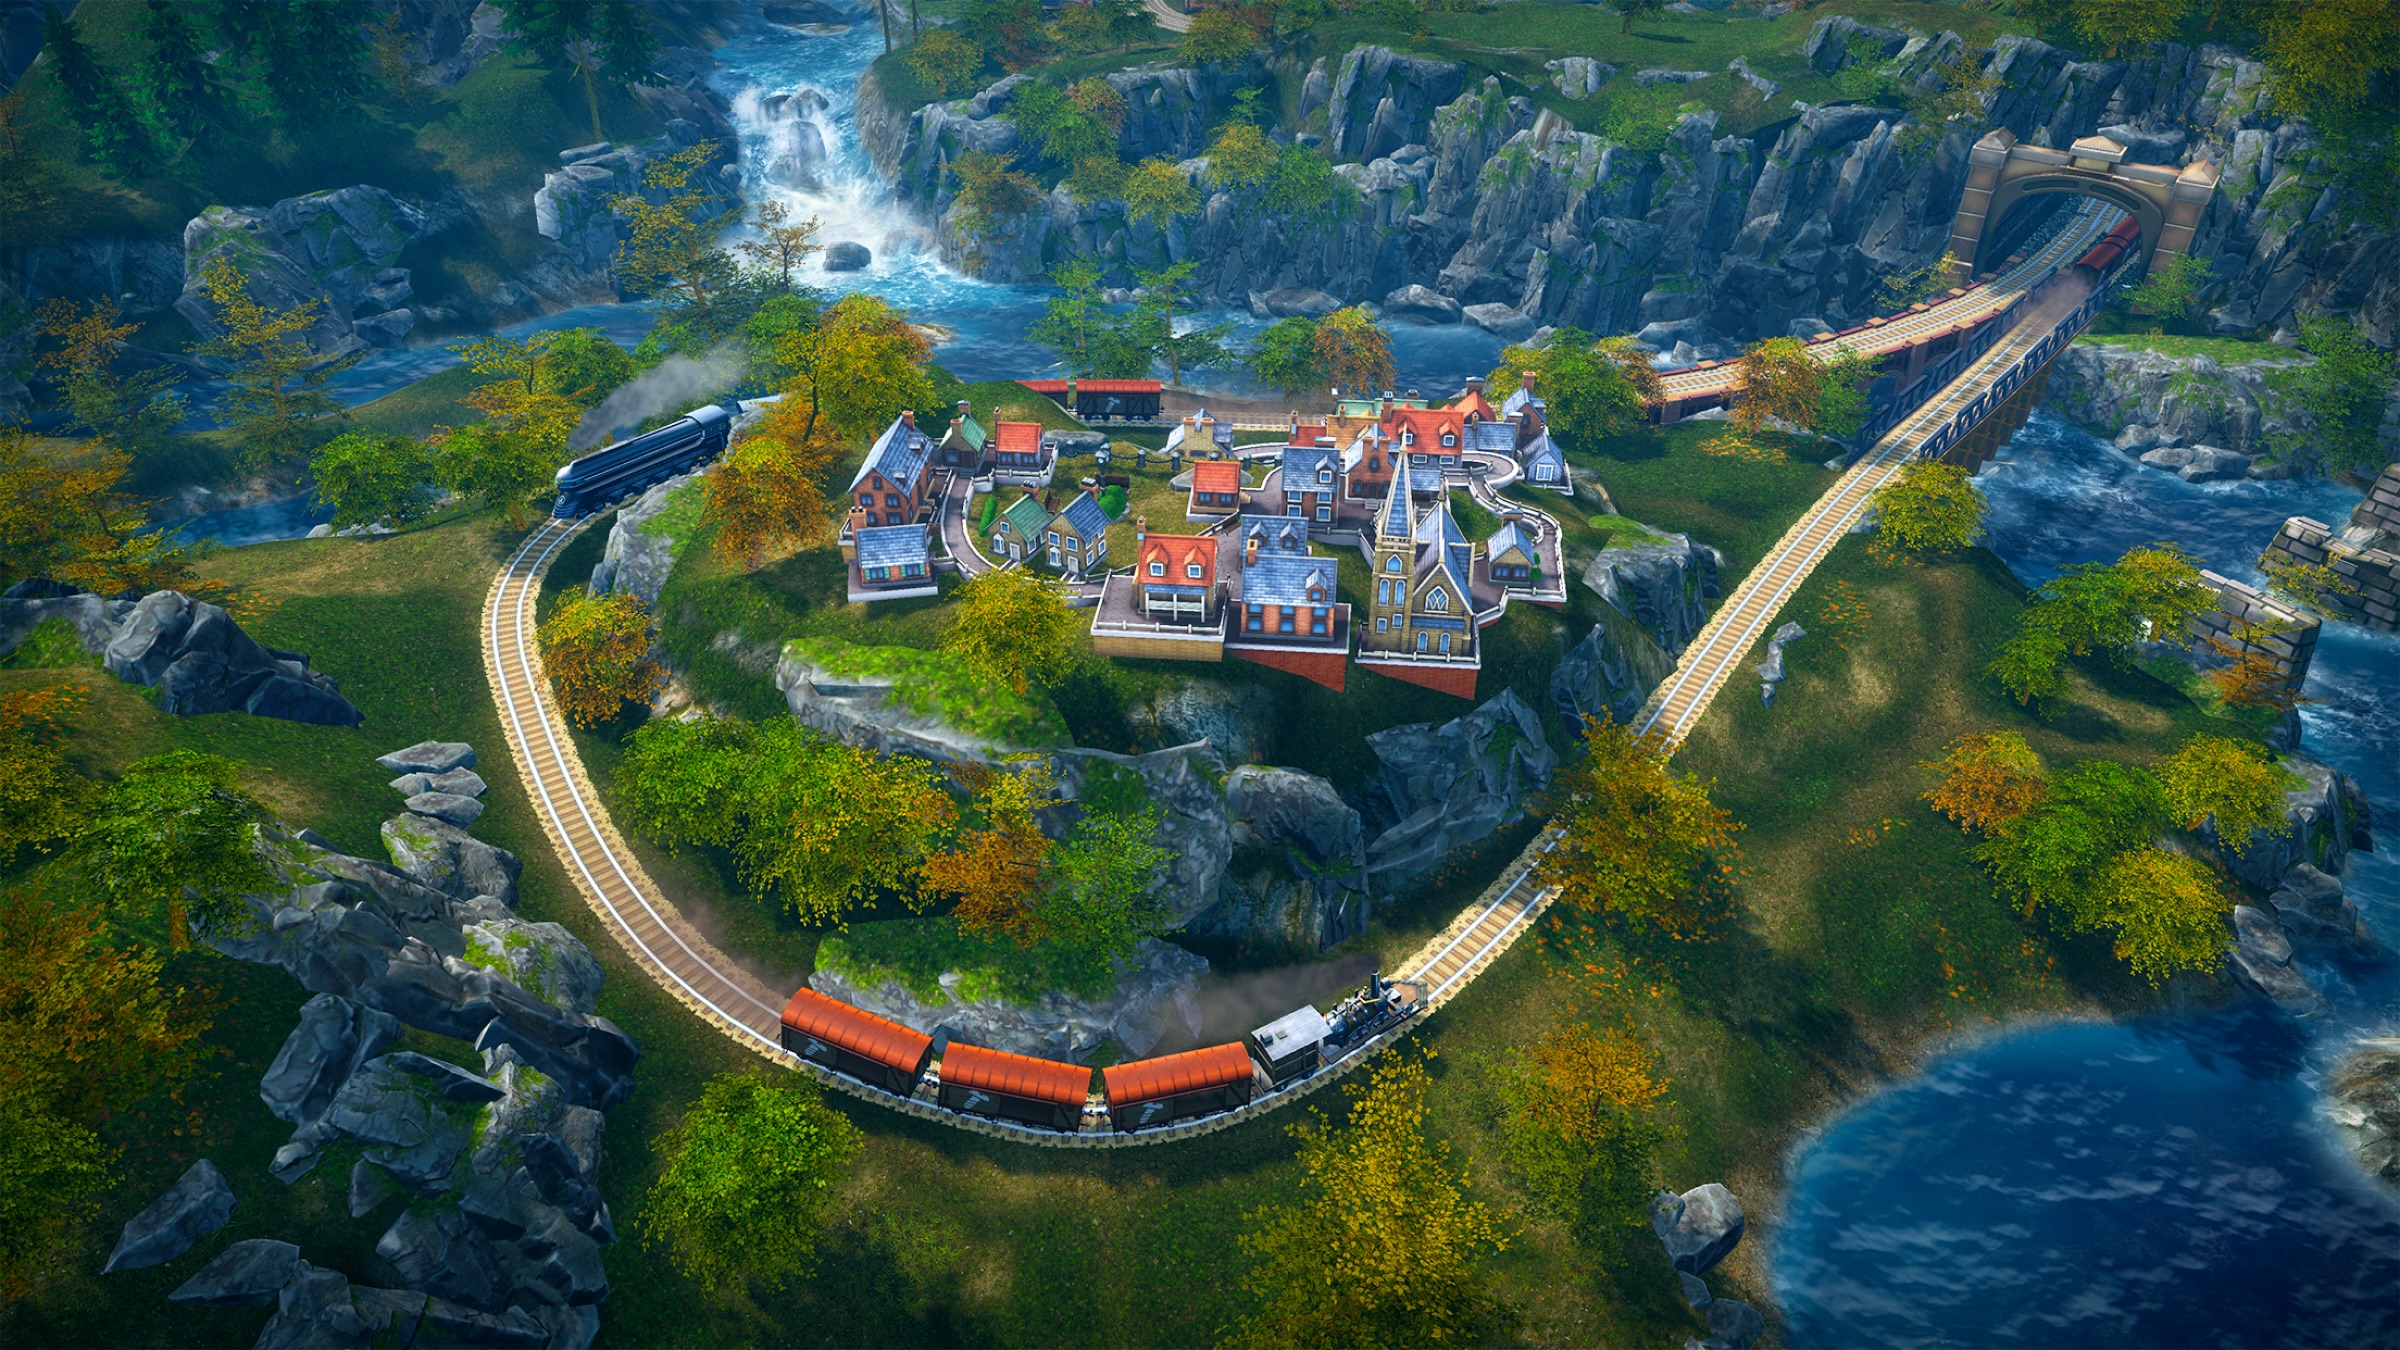
Let’s kick things off by focusing on texture atlases and their role in compression. For starters, what exactly is a texture atlas? It’s a technique that amalgamates several textures into a single image, offering a more streamlined approach to asset management. Take, for instance, the texture atlas used for an entire cityscape in Railroad Empire.
Optimization benefits:
- Diminished memory access.
- Reduced texture volume per location, resulting in smaller game sizes.
- Enhanced FPS.
- Minimized device heating.
How it works
The greater the number of objects utilizing identical materials, the more straightforward it becomes for the SRP-batcher in the URP framework to consolidate these objects into a single Draw Call. This reduction in both draw calls and polygon demands contributes to diminished heating and improved performance on mobile devices.
For instance, Railroad Empire’s cities are ingeniously constructed using a single material and texture.
Here are a few texture tricks that will help you improve optimization without sacrificing image quality:

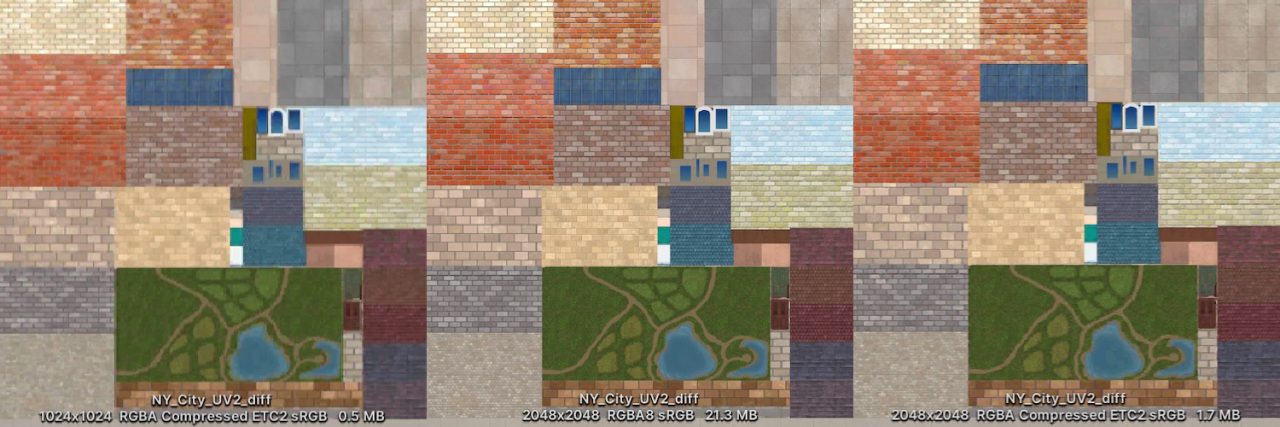
1. Don’t hesitate to compress larger textures, from 4096×4096 or 2048×2048 down to 1024×1024, and take advantage of crunch compression.
The visual difference is negligible in most cases — except perhaps for lightmaps against a plain background — but the savings in file size are significant. A texture at 2K resolution might normally use up to 20 MB, but when compressed to 1024×1024, it can drop to just 380-500 KB, which is excellent for optimization.
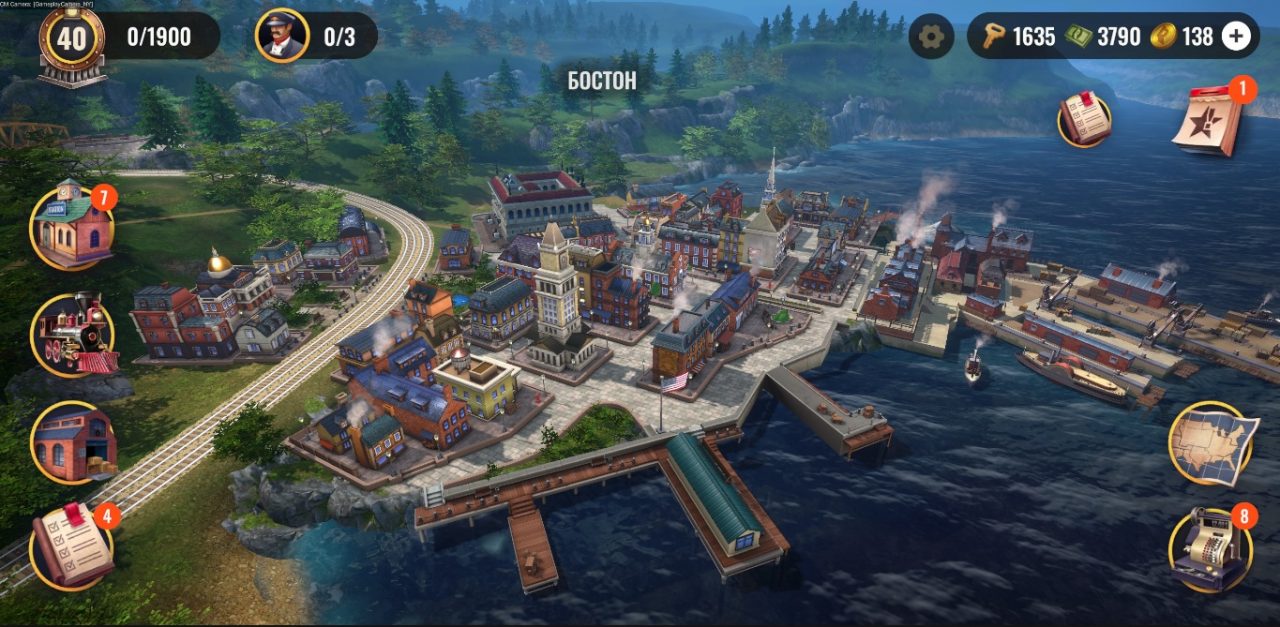
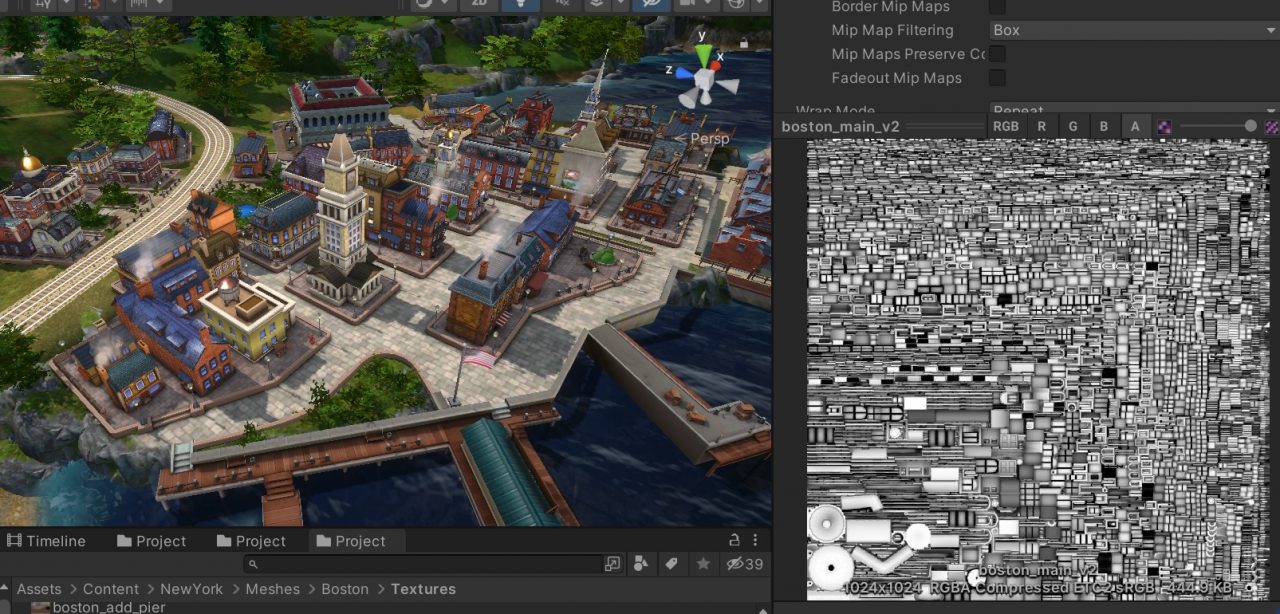
Generally, model textures should look good at 1024×1024 resolution. If not, it’s likely the model requires adjustment in its texel density. For example, in Railroad Empire, we typically set most textures to 1024×1024 as part of our optimization strategy. This approach demonstrates that with the right texel density and mapping, you can achieve a richly detailed visual effect without overwhelming file sizes — assuming, of course, the textures are meticulously crafted.
It’s essential to start with a higher resolution source, ideally at least 2048×2048. Reducing a 2K texture to 1K is straightforward with a few settings adjustments, but you can’t upscale a 1024×1024 texture to 2048×2048 without losing quality. Thus, starting high serves as a safety net for instances when precise mapping or enhanced detail is necessary, ensuring you always have the option to scale down without compromising on fidelity.
2. Consider skipping Normal Maps when you can
Take, for instance, a scenario where we needed to simulate sunlit ripples on water. The straightforward approach might involve using two opposing normal maps to achieve the desired curvature effect. However, this technique could lead to a 6 FPS drop on average devices, a significant performance cost. A more efficient strategy? Simulating these effects with masks.
In Railroad Empire, we’ve applied this principle extensively. The water doesn’t use a single normal map; instead, we achieve the illusion of movement and texture through carefully applied masks moving along the flowmaps. This method also extends to simulating light reflections—what might be represented by flares in other contexts, we manage through strategic mask use.
3. Leverage Ambient Occlusion for depth and contrast
We typically embed Ambient Occlusion within the Albedo’s alpha channel for texture atlases. This method accentuates building outlines and enhances contrast without needing post-processing techniques. Because the primary UV channel is in use, we apply Ambient Occlusion to the UV2 channel.
While utilizing the UV2 channel slightly increases the asset’s size, the shader reads the UV2 pack, leading to an additional processing demand on both the CPU and GPU, it remains a more resource-efficient solution than incorporating an entirely separate texture for Ambient Occlusion effects.
Animation
1. Streamline animation with keyframe reduction
Overloading animations with unnecessary keyframes — for position, rotation, and scale on every single frame — is a common oversight that can significantly bloat file sizes. Each keyframe adds to the data stored within the FBX file, contributing to unnecessary bulk.
By trimming these excess keys, it’s possible to slash up to 90% off the total animation file size. For instance, in Railroad Empire, animations for ferries traversing the map can span 5-10 minutes. Without pruning superfluous keyframes, these animations could balloon to a hefty 10MB.
Pro tip: For animations that genuinely require every frame to be keyed, consider ramping up the speed within the initial 30 frames and then dialing it back in the animation controller.
2. Use dummy objects
In production, reusing assets is a common and efficient practice. For instance, if there’s a request to introduce additional ferries at a later stage, it’s much more practical to animate a single Dummy object and then attach the specific Mesh to it. This approach negates the need to animate each object separately.
Final thoughts
As I mentioned in the previous part, there’s no one-size-fits-all strategy for achieving stunning graphics in mobile games. Some games max out computing resources for accurate physics simulations, while others prioritize lifelike visuals. Achieving both simultaneously is typically reserved for high-end devices, which could restrict your game’s audience. Thus, each project demands its own tailored solutions and a bit of ingenuity to balance aesthetic appeal with broad accessibility.
*****
- Part 1. Polygon management